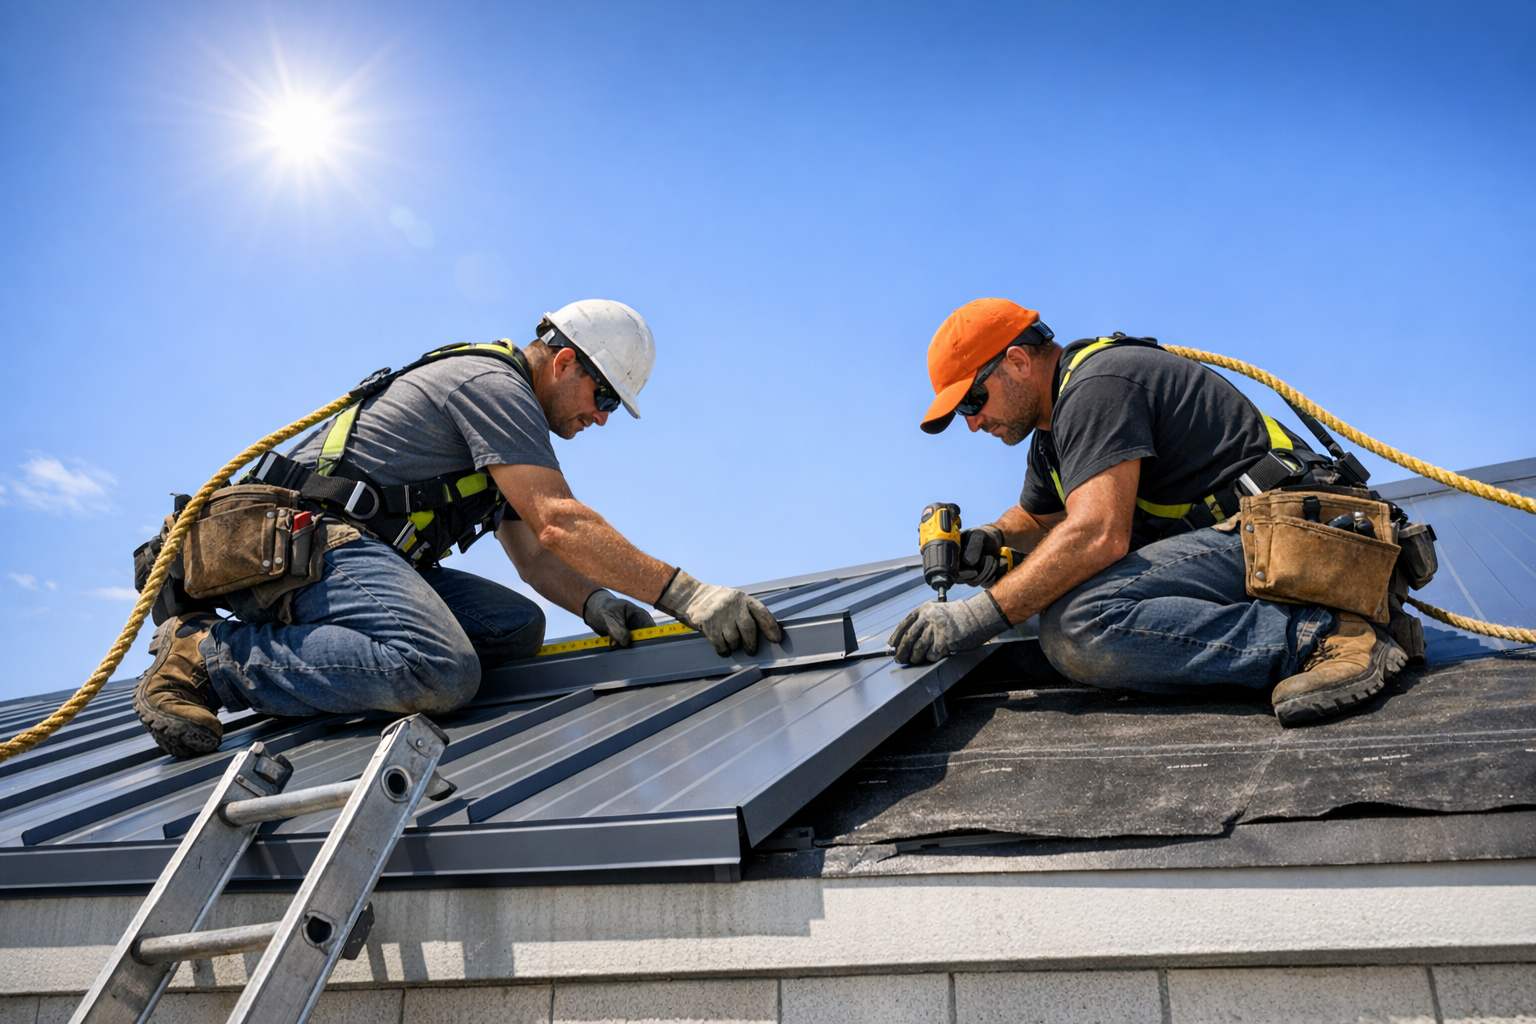

Roof Installation Process: The Steps A Quality Crew Won’t Skip
Thinking about a new roof but overwhelmed by what actually happens from the first inspection to the final nail sweep? This guide walks you step-by-step through the entire roof installation process—costs, materials, codes, contractor selection, and long-term maintenance—so you can protect your home, avoid costly shortcuts, and confidently choose the right crew.
Understanding the Roof Installation Process: What Homeowners Need to Know
What is the roof installation process, in plain language?
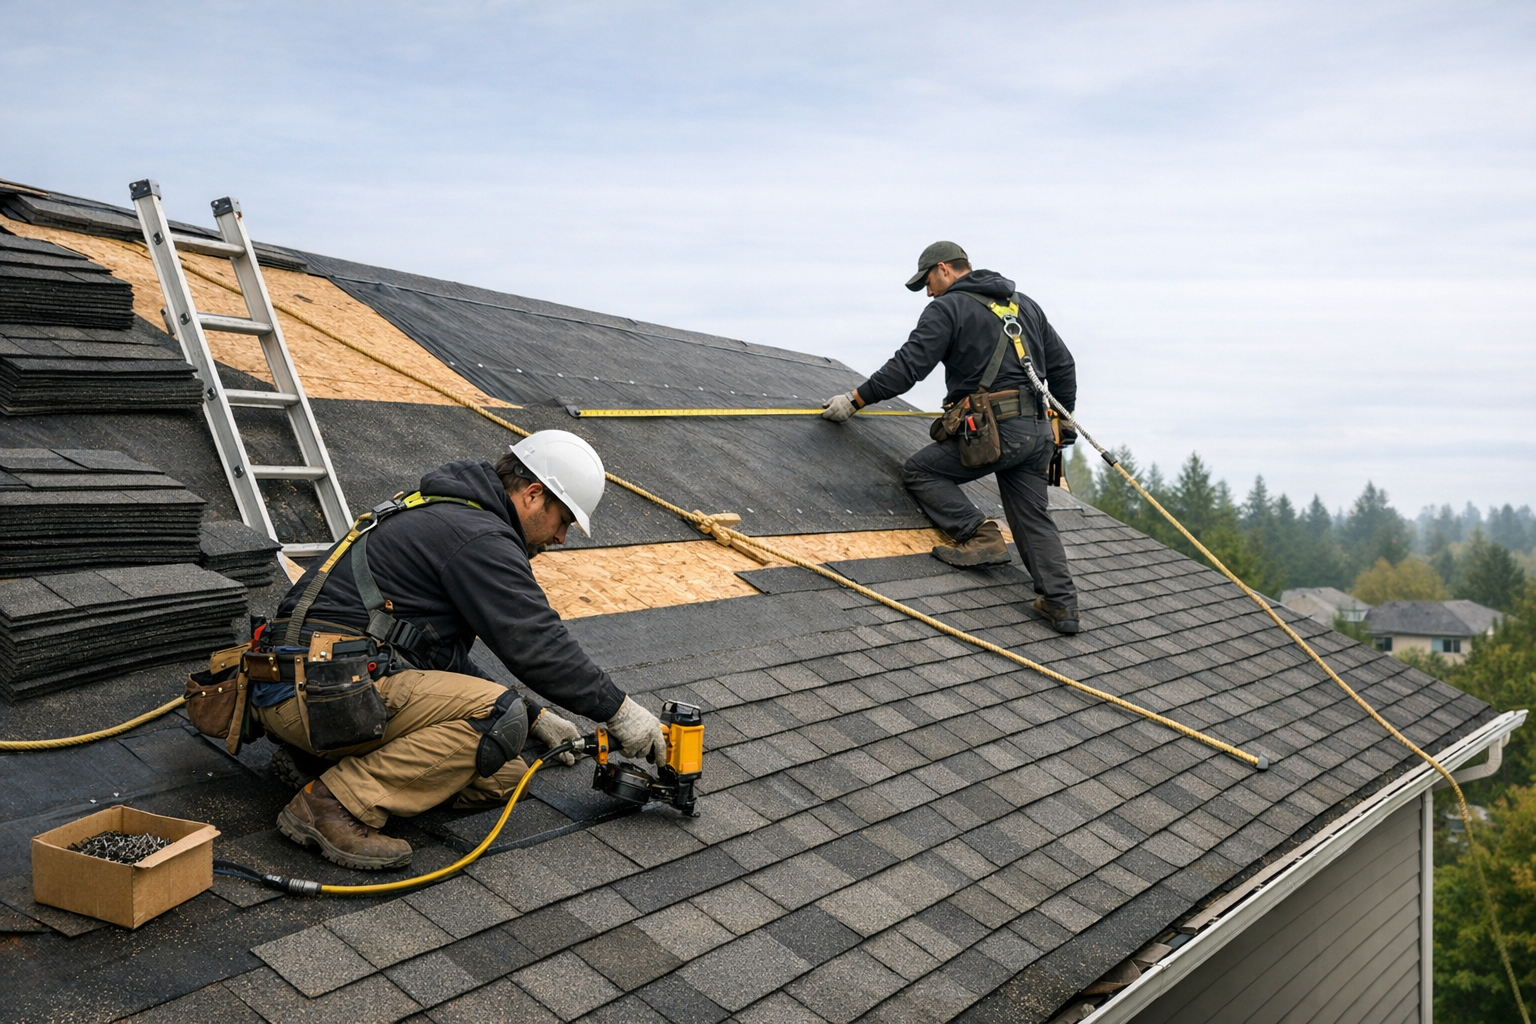
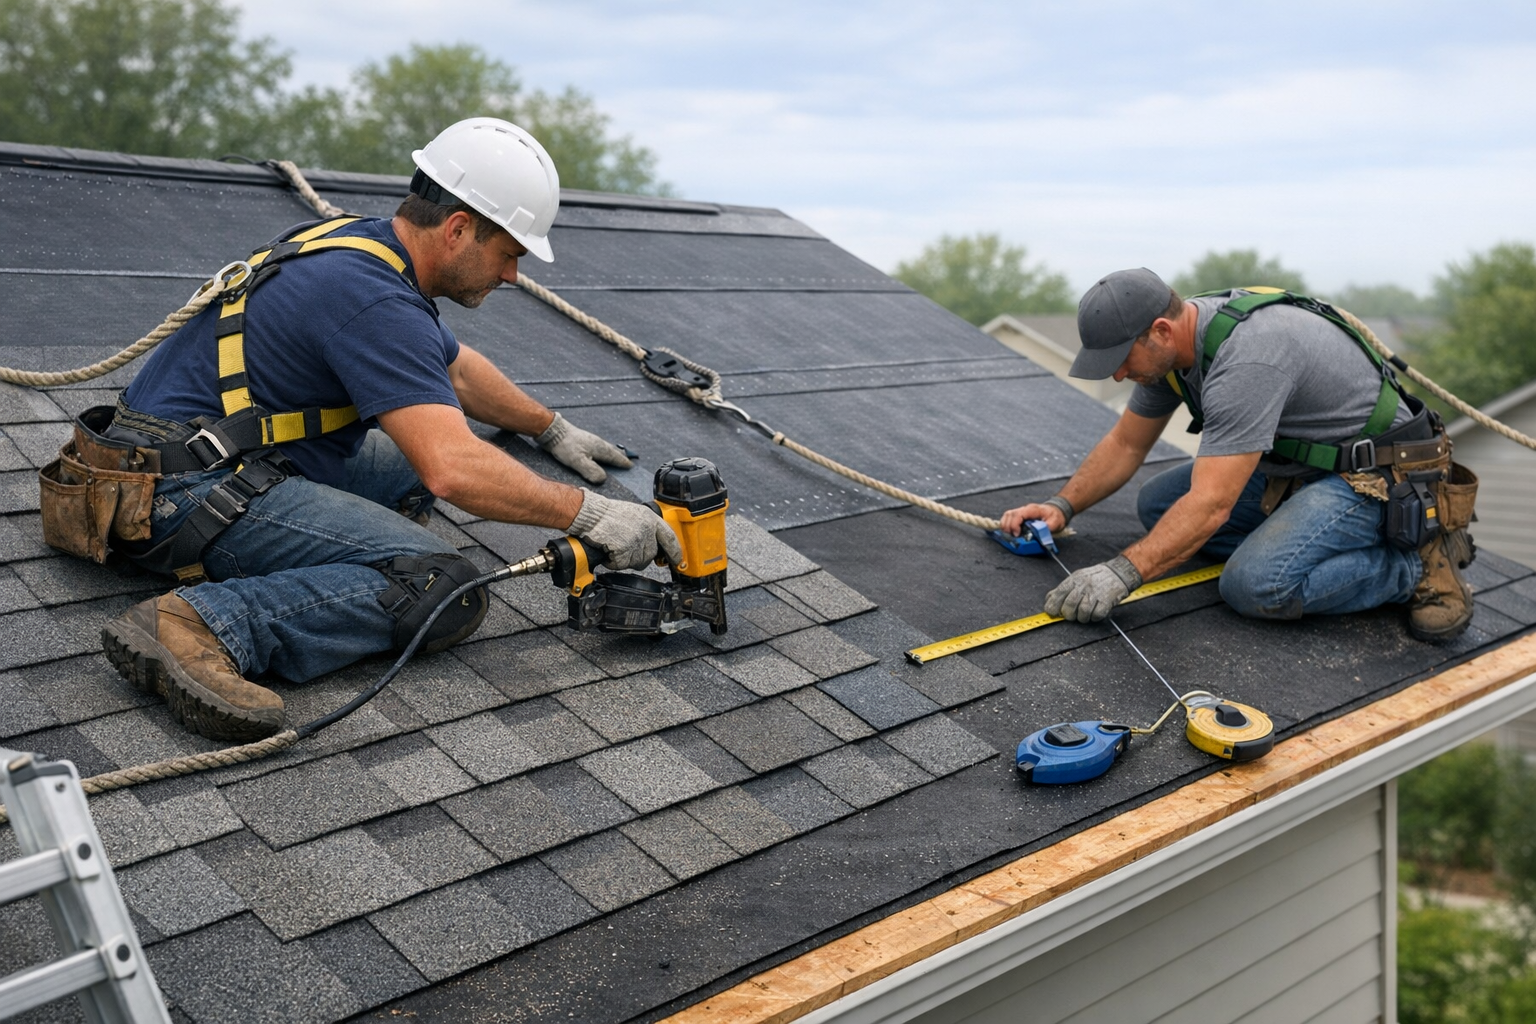
When homeowners ask me what the roof installation process actually involves, I keep it simple. It is the complete system of removing an old roof, inspecting and repairing the underlying structure, and installing a new roofing system that protects your home from water, wind, heat, and cold.
In plain language, it is not just “putting on shingles.” It is a step by step method that includes:
- Careful inspection and planning
- Tear-off of old materials
- Deck repair and preparation
- Waterproof underlayment and flashing
- Shingle or roofing material installation
- Ventilation and finishing details
- Final inspection and documentation
Each stage builds on the one before it. If a crew skips a step or rushes it, problems show up later as leaks, blow-offs, or premature wear. I always tell homeowners that your roof is a system, not a surface. The quality of the process determines how well that system performs.
How a “quality crew” approach differs from a basic roof replacement
A basic roof replacement often focuses on speed and cost. A quality roof installation process focuses on durability and long-term performance.
The difference shows up in the details. A basic crew might install shingles over an uneven deck. A quality crew checks sheathing, corrects soft spots, and verifies fastening patterns. A basic crew may reuse old flashing to save time. A quality crew replaces worn metal and installs new step flashing where needed.
I have seen roofs that looked fine from the street but failed within a few years because shortcuts were taken underneath. A quality crew documents hidden issues, communicates changes clearly, and follows manufacturer specifications exactly. That is what protects your warranty and your home.
Why roof installation matters for your home’s safety, value, and energy efficiency
Your roof does more than keep rain out. It protects structural framing, insulation, electrical systems, and everything inside your home. A poorly executed roof installation process can lead to mold growth, wood rot, and attic moisture issues.
From a value perspective, a new roof is one of the first things buyers notice. Straight lines, clean flashing, and proper ventilation signal that the home has been cared for. On the other hand, uneven shingles or visible patchwork raise red flags.
Energy efficiency is another factor many homeowners overlook. Proper underlayment, attic ventilation, and insulation work together to reduce heat buildup in summer and moisture in winter. When we install a roof correctly, we are improving comfort and reducing strain on heating and cooling systems.
Signs it’s time to consider a full roof installation instead of patch repairs
I often get calls asking if a small repair will solve the issue. Sometimes it will. Other times, repairs only delay a bigger problem.
Here are common signs that a full roof installation makes more sense:
- Multiple leaks in different areas
- Shingles curling, cracking, or losing granules
- Soft spots in the decking
- Ice dams forming every winter
- Roof age approaching 20 to 30 years, depending on material
If repairs become frequent and costly, investing in a proper roof installation process is usually more cost-effective long term. I always recommend a full inspection before deciding.
Step 1: Pre-Project Planning – Inspection, Scope, and Estimate
What a thorough roof inspection should include (not just “looking from the ground”)
A real inspection means getting on the roof, not just glancing at it from the driveway. I check shingles, flashing, valleys, vents, and ridge lines up close. Inside the attic, I look for water stains, mold, blocked vents, and insulation gaps.
A thorough roof inspection should include:
- Shingle condition and nail placement
- Flashing integrity around chimneys and walls
- Decking firmness underfoot
- Ventilation balance
- Signs of past repairs
Without this level of detail, any estimate is just a guess.
Identifying hidden issues: rotten decking, ventilation problems, past leak damage
Many serious issues are invisible until tear-off begins. Rotten decking often hides under old shingles. Ventilation problems may only show up as excessive attic heat or frost buildup in winter.
During the roof installation process, we probe suspicious areas and document soft wood. I have seen minor leaks that caused significant damage over time. Identifying these issues early prevents future structural repairs.
Building a clear scope of work: repair vs. replace, layers to remove, upgrades to add
A clear scope of work defines exactly what will happen. Will we remove one layer of shingles or two? Are we upgrading underlayment? Adding ice and water shield? Improving ventilation?
When I prepare a scope, I write it in plain terms so homeowners know what they are paying for. This avoids confusion and protects both sides.
How a professional crew prepares an accurate, transparent roofing estimate
An accurate estimate accounts for material, labor, disposal, permits, and potential decking replacement. It should break down:
- Roofing material type
- Underlayment specification
- Flashing replacement
- Vent upgrades
- Cleanup and haul-away
If an estimate is vague, it usually means something is missing. Transparency is a core part of a professional roof installation process.
Step 2: Permits, Codes, and Manufacturer Requirements
Do you need a permit for a new roof? How to verify local requirements
In many areas, yes, you need a permit for a new roof. Permits ensure the project meets safety standards and building codes.
I always advise homeowners to confirm requirements with their local building department. A reputable contractor handles permits on your behalf. Skipping this step can create problems when selling your home.
Building codes that protect your home: wind ratings, fire ratings, ice barriers
Building codes exist for a reason. They specify wind resistance ratings, fire classifications, and requirements for ice barriers in colder climates.
For example, ice and water shield may be required along eaves to prevent ice dam leaks. Ignoring code requirements compromises safety and may void insurance coverage.
The International Residential Code's ice barrier requirement(Section R905.1.2) spells out exactly where this protection is mandatory — from the roof's lowest edge to at least 24 inches inside the exterior wall line in areas with a history of ice damming.
Why following manufacturer installation guidelines protects your warranty
Every roofing material comes with detailed installation guidelines. These specify nail placement, underlayment type, and ventilation standards.
If the roof installation process does not follow those guidelines, the manufacturer can deny warranty claims. I treat these instructions as non-negotiable.
Red flags: shortcuts that void warranties or fail inspections
Watch for warning signs such as:
- Reusing old flashing
- Installing shingles over uneven decking
- Skipping drip edge
- Improper nailing patterns
These shortcuts may save time but often fail inspections or void warranties.
Step 3: Protecting Your Property Before Tear-Off
How a quality crew safeguards landscaping, siding, windows, and HVAC units
Before tear-off, we protect shrubs, siding, and air conditioning units with tarps and plywood barriers. Falling shingles and nails can cause real damage if not controlled.
Preparation shows respect for your property.
Setting up safety zones, tarps, and debris management plans
We establish clear safety zones around the house. Tarps catch debris. Crew members know where materials will be staged and how waste will be handled.
This organization reduces risk and keeps the job site controlled.
Where the dumpster goes and why placement matters
Dumpster placement affects driveway protection and debris flow. We position it close enough for efficiency but far enough to prevent damage.
Planning this detail makes cleanup faster and safer.
Communication you should expect before work starts
Before starting, I review:
- Project timeline
- Daily start and end times
- Noise expectations
- Access needs
Clear communication prevents misunderstandings.
Step 4: Tear-Off and Roof Deck Inspection – The Step Too Many Crews Rush
Why full tear-off is usually better than installing over old shingles
Installing over old shingles hides problems. A full tear-off exposes decking so we can inspect it properly.
This step is essential for a reliable roof installation process.
What a crew should look for when the old roof is removed
We check for soft spots, delamination, mold, and improper nailing. Every exposed section gets evaluated before new materials go down.
Dealing with rotten or soft roof decking: repair standards, not band-aids
Rotten decking must be replaced, not patched. Proper repairs involve cutting out damaged sections and installing new sheathing secured to framing members.
Shortcuts here lead to sagging and leaks.
Documenting problems with photos so homeowners can see what was found
I believe in transparency. We photograph damaged areas and share them with homeowners. Seeing the issue builds trust and clarifies why repairs are needed.
Step 5: Deck Preparation – Nailing, Sheathing, and Slope Corrections
Verifying the roof deck is flat, solid, and properly fastened
An uneven deck creates visible waves in shingles. We refasten loose panels and ensure surfaces are flat.
Correcting loose or inadequate sheathing before new roofing goes on
If sheathing thickness does not meet code, it must be upgraded. Proper fastening patterns prevent movement under wind load.
Adjusting for problem areas: low-slope sections, ponding spots, and transitions
Low-slope areas may require additional waterproofing layers. Transitions between roof sections must be sealed carefully.
Why this step affects shingle life, appearance, and leak resistance
A well-prepared deck supports shingles evenly. This extends lifespan and improves appearance.
Step 6: Underlayment and Ice & Water Shield – Your Hidden Waterproof Layer
What roof underlayment is and why it’s critical to the roof installation process
Underlayment is a protective layer installed between decking and shingles. It acts as a secondary barrier against water intrusion.
In the roof installation process, this layer is your backup defense if shingles fail.
Where ice & water shield must be installed
Ice and water shield is typically required at:
- Eaves
- Valleys
- Around chimneys and vents
These areas are leak-prone and need extra protection.
Synthetic vs. felt underlayment: pros, cons, and when each makes sense
Synthetic underlayment is lightweight and tear-resistant. Felt is more traditional and cost-effective. Climate and budget influence the choice.
Common underlayment mistakes that lead to leaks and denied insurance claims
Improper overlaps or skipped areas create weak points. Insurance companies may deny claims if installation does not meet standards.
Step 7: Flashing and Drip Edge – The Metal Details That Stop Leaks
What is roof flashing and where it belongs
Flashing directs water away from seams and joints. It belongs around chimneys, walls, valleys, and vents.
Drip edge: why quality crews never skip it
Drip edge prevents water from seeping under shingles at edges. Skipping it invites rot.
Reusing old flashing vs. installing new
If flashing shows rust or damage, replacement is necessary. Reusing compromised metal risks leaks.
Step flashing vs. counterflashing
Step flashing works with counterflashing to seal wall intersections. Both components are required for proper protection.
Step 8: Starter Strips and Shingle Layout – Getting the Foundation Right
Why starter shingles matter
Starter strips seal the first row and improve wind resistance.
Aligning the first course
A straight first course prevents a wavy appearance across the roof.
Stagger patterns and correct shingle layout
Proper staggering prevents water infiltration at joints.
Verifying orientation, exposure, and overhang
We measure exposure carefully to match manufacturer requirements.
Step 9: Nailing Patterns and Fastening – Where Craftsmanship Shows
Code-compliant nailing patterns
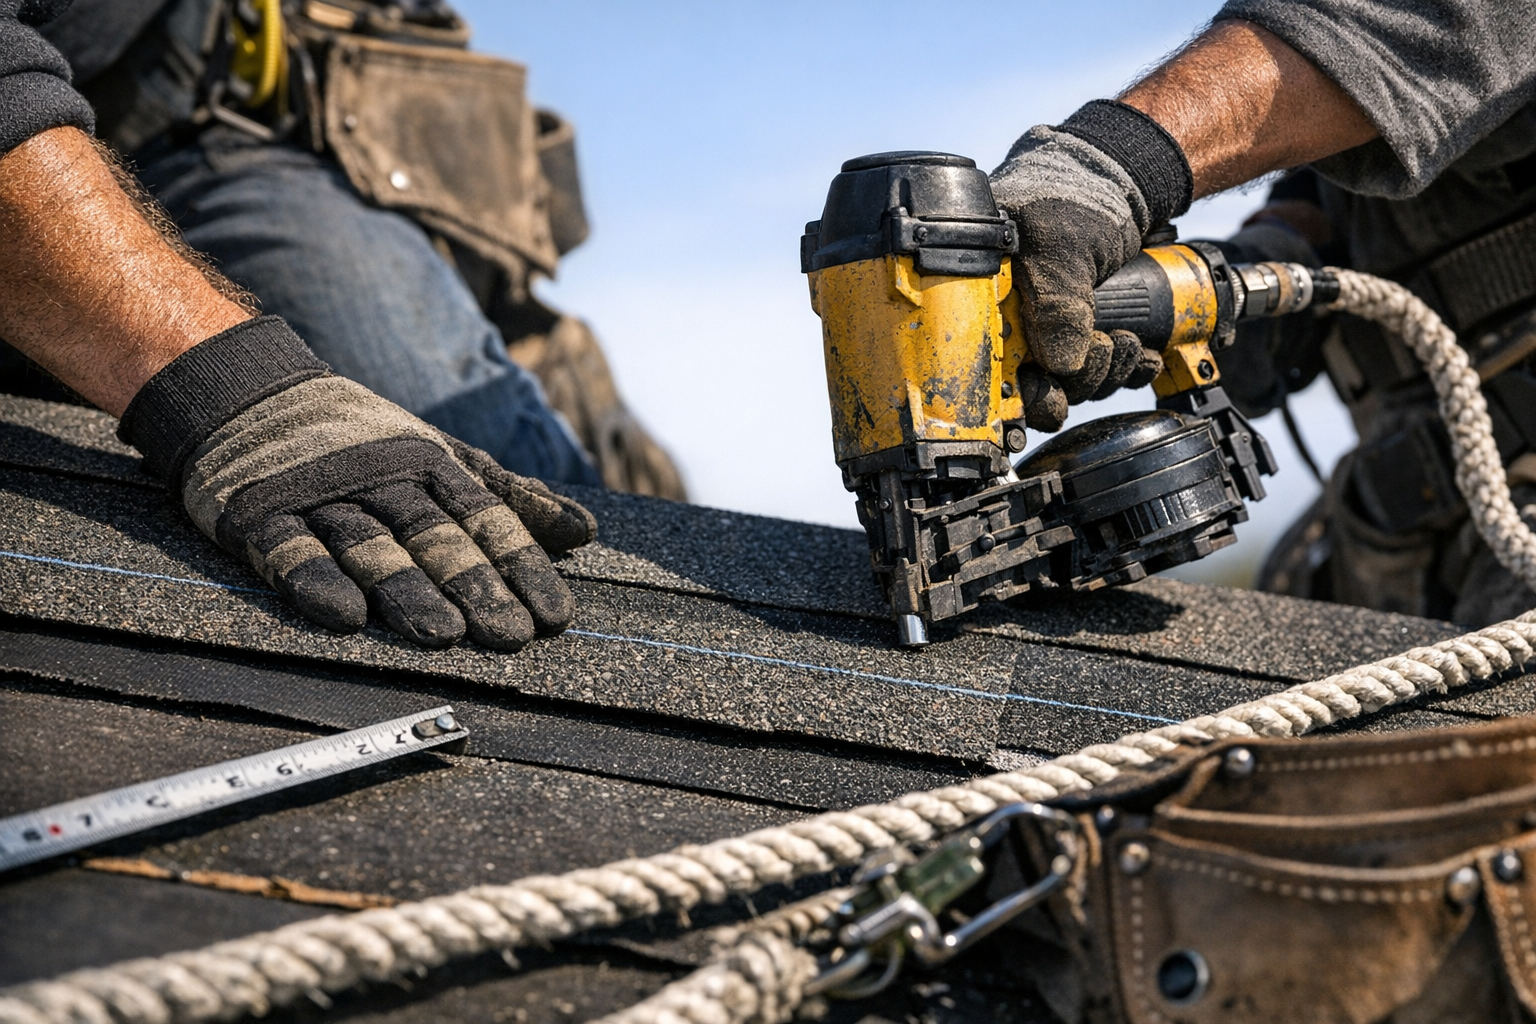
Correct nail count and placement ensure wind resistance.
Nail length, placement, and angle
Nails must penetrate decking fully and sit flush.
Why overdriven or underdriven nails cause problems
Overdriven nails cut into shingles. Underdriven nails prevent sealing.
How a foreman checks fastening quality
Regular spot checks maintain quality control.
Step 10: Valleys, Ridges, and Roof Penetrations – High-Risk Areas Done Right
Valley installation methods
Open metal valleys offer durability. Closed-cut valleys provide a uniform look.
Ridge caps and hips
Ridge caps seal high points and allow ventilation when paired with ridge vents.
Flashing around penetrations
Each vent or pipe requires sealed flashing.
Mistakes untrained crews make
Improper sealing and misaligned valleys are common failure points.
Step 11: Roof Ventilation and Attic Airflow – The System Most Homeowners Never See
Why roof ventilation is essential
Proper ventilation extends shingle life and reduces moisture buildup.
The National Roofing Contractors Association notes that ventilation requirements are also tied to code compliance — most jurisdictions require roughly 1 square foot of net free ventilation area per 150 square feet of attic space, split between intake and exhaust.
Different ventilation systems
Options include ridge vents, box vents, gable vents, and soffit vents.
Balancing intake and exhaust ventilation
Balanced airflow prevents condensation and overheating.
Fixing attic issues during installation
The roof installation process is the best time to correct ventilation problems.
Step 12: Insulation, Ice Dams, and Energy Efficiency Upgrades
Roofing and attic insulation working together
Insulation reduces heat transfer and supports ventilation performance.
Dealing with ice dams
Air sealing and proper insulation minimize ice dam formation.
Energy-efficient roofing materials
Reflective shingles reduce heat absorption.
When to add insulation
If attic insulation is below recommended levels, upgrading during installation makes sense.
Step 13: Final Roof Cleanup and Magnetic Sweep – Respect for Your Property
Debris control during the project
Daily cleanup keeps the site safe.
Magnetic sweep for nails
We use magnetic tools across lawns and driveways to collect stray nails.
Reinstalling fixtures properly
Gutters and other fixtures must be resecured carefully.
Final yard walkthrough
A final inspection ensures nothing is left behind.
Step 14: Quality Control Walkthrough and Final Roof Inspection
What a thorough final inspection covers
We inspect lines, flashing, vent seals, and overall appearance.
Reviewing the roof with you
I walk homeowners through completed work and answer questions.
Photo documentation and drone inspections
Photos provide records of completed installation.
Fixing punch list items
Any concerns are addressed before project closeout.
Step 15: Paperwork, Warranties, and What a Quality Crew Leaves You With
Types of roof warranties
Manufacturer warranties cover materials. Workmanship warranties cover installation.
Getting warranties registered
Registration ensures coverage is active.
What should be included in your final project packet
Your packet should include permits, photos, warranty details, and material specs.
Storing documents for future needs
Keep both digital and physical copies for resale or insurance purposes.
Roof Installation Materials: Comparing Options for Your Home
Asphalt shingles vs. metal roofing vs. tile
Asphalt shingles are cost-effective and versatile. Metal roofing offers longevity and durability. Tile provides a distinctive look and long life but requires structural support.
Impact-resistant shingles and class 4 options
Class 4 shingles resist hail damage and may lower insurance premiums.
Underlayment and accessory brands that signal quality
High-quality accessories support system performance.
How climate, budget, and architecture influence choice
Material selection depends on environment and design preferences.
Roof Installation Cost Factors: What Really Drives the Price
Square footage, pitch, and complexity
Steeper roofs require more labor and safety precautions.
Material tiers
Premium systems cost more but often last longer.
Access and disposal fees
Tear-off difficulty affects cost.
Why the cheapest bid often skips critical steps
Low bids often omit ventilation upgrades or flashing replacement.
Warning Signs of a Poor Roof Installation Process
Visual clues
Look for uneven lines or exposed nails.
Early performance issues
Leaks or blow-offs indicate improper installation.
Documentation red flags
Missing permits or vague contracts are warning signs.
When to call a professional inspector
If concerns arise, a second opinion provides clarity.
How to Choose a Roofing Contractor Who Won’t Skip Steps
Questions to ask about their roof installation process
Ask for a detailed explanation of each stage.
Verifying licensing and insurance
Confirm credentials and coverage.
Why on-site supervision matters
Dedicated supervision ensures standards are followed.
Evaluating estimates beyond price
Compare scope, materials, and warranty terms.
Maintenance After Installation: Protecting Your New Roof Investment
Seasonal homeowner inspections
Check for debris and visible damage.
Scheduling professional checkups
Annual inspections catch minor issues early.
Gutter cleaning and tree trimming
These habits extend roof life.
What to do after major storms
Inspect for missing shingles and call for evaluation if needed.
When Roofing and Other Exterior Projects Should Be Done Together
Coordinating roof replacement with other upgrades
Bundling projects reduces disruption.
Timing considerations
Weather windows affect scheduling.
Lowering long-term costs
Combining work can reduce labor overlap.
Planning multi-phase renovations
Careful planning protects new roofing materials.
Next Steps: From Researching the Roof Installation Process to Getting a Quote
What information to gather before requesting an estimate
Have roof age, known issues, and insurance details ready.
Comparing multiple bids based on process
Focus on scope clarity, not just price.
Setting expectations for timelines and payment
Understand schedule and payment structure upfront.
When it’s time to move to an on-site consultation
If your roof shows signs of aging or damage, schedule a professional inspection to begin the roof installation process the right way.
Key Takeaways
- The roof installation process involves a comprehensive, multi-step system—starting with thorough inspection and planning, followed by careful removal, repair, installation, and quality control—to ensure long-term protection, warranty coverage, and home value.
- Quality roofing crews never skip critical steps like full tear-off, deck repair, proper underlayment, and meticulous flashing installation; shortcuts or ignored details often result in leaks, premature failures, and voided warranties.
- Proper roof installation directly impacts home safety, energy efficiency, and resale value by safeguarding against water damage, improving insulation and ventilation, and signaling well-maintained property to potential buyers.
- Homeowners should verify permits, local codes, and manufacturer guidelines are followed, demand transparent estimates and documentation, and choose contractors who communicate clearly and prioritize each stage of the process.
- Post-installation maintenance—such as routine inspections and gutter cleaning—protects your new roof investment, while coordinating roofing with other exterior projects can optimize costs and minimize disruption.
Frequently Asked Questions
1. What is the roof installation process and why is it important?
The roof installation process involves removing old roofing, inspecting the deck, installing underlayment, shingles, and flashing, and finishing with ventilation and cleanup. A quality process protects your home from leaks, ensures durability, and preserves warranties.
2. How can I tell if I need a full roof replacement instead of a repair?
If you notice multiple leaks, widespread shingle damage, soft decking, frequent ice dams, or your roof is over 20 years old, a full roof installation is usually more cost-effective and reliable than repeated repairs.
3. What steps do professional crews take to ensure a quality roof installation?
Quality crews perform detailed inspections, use proper permits, protect your property, replace damaged decking, install all required waterproofing, follow manufacturer guidelines, and conduct final inspections—never skipping essential steps that impact performance.
4. How does proper ventilation and insulation affect my roof’s lifespan?
Balanced ventilation and adequate insulation reduce moisture, prevent heat buildup, and help avoid ice dams. These upgrades during the roof installation process can extend shingle life, improve comfort, and lower energy costs.
5. What should I look for when choosing a roofing contractor?
Ask about their complete roof installation process, check licensing and insurance, confirm on-site supervision, and compare detailed estimates—not just price. A reputable contractor will be transparent and follow all required steps for a long-lasting result.
Take the next step toward a safer, more energy-efficient home with our professional roofing services. If you are ready for a roof installation or want to explore durable options like metal roofing, do not wait for small issues to become costly repairs. Schedule a consultation with our expert team today and experience transparent estimates, meticulous workmanship, and lasting protection for your investment.